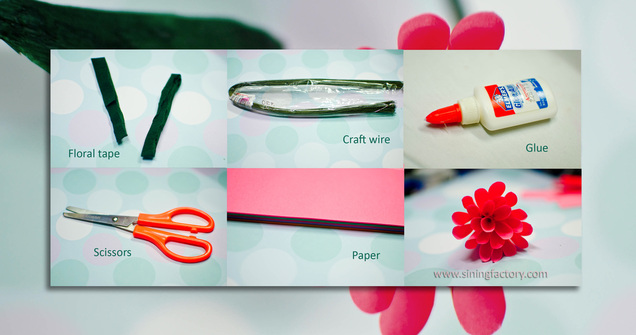
- Paper
- Glue
- Scissors
- Craft wire
- Floral tape
|
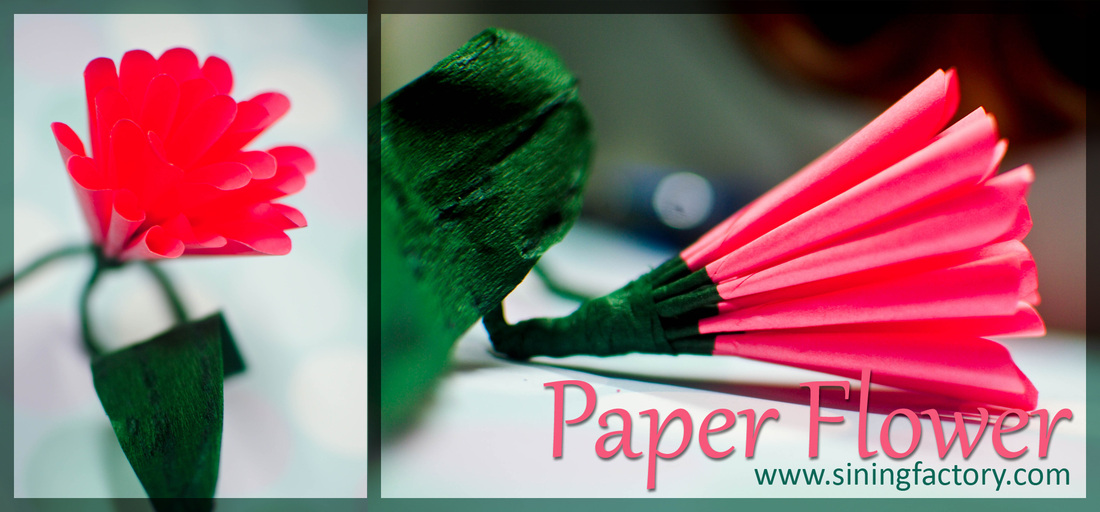
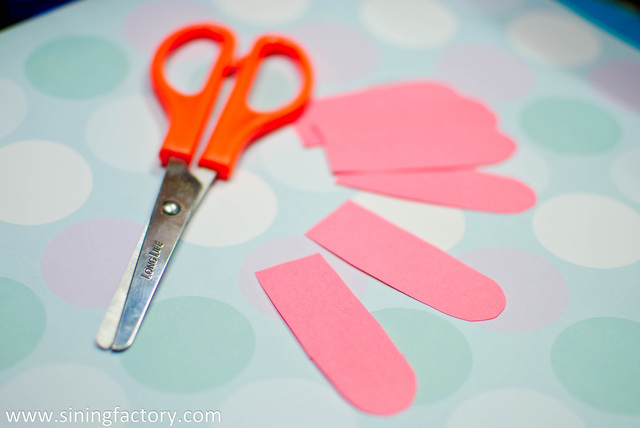
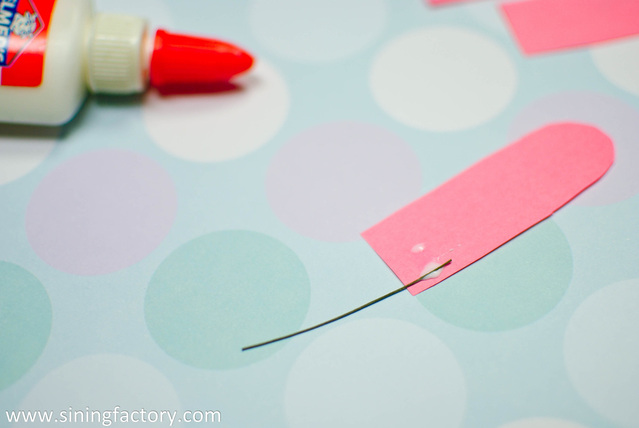
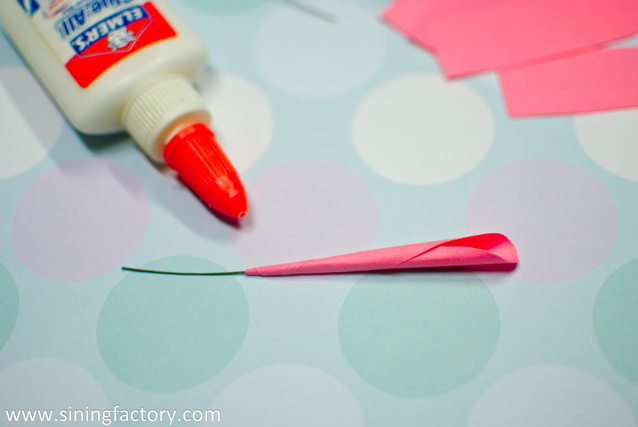
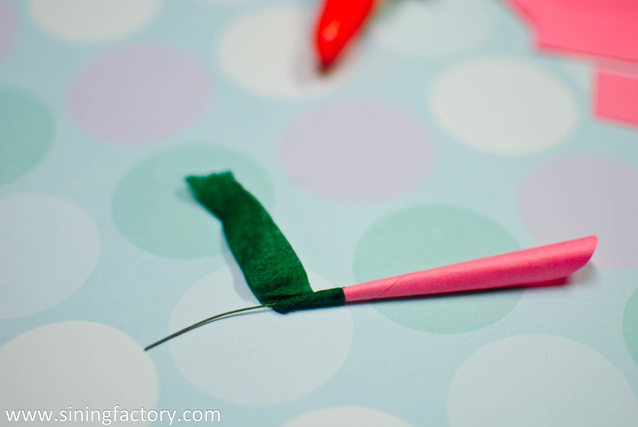
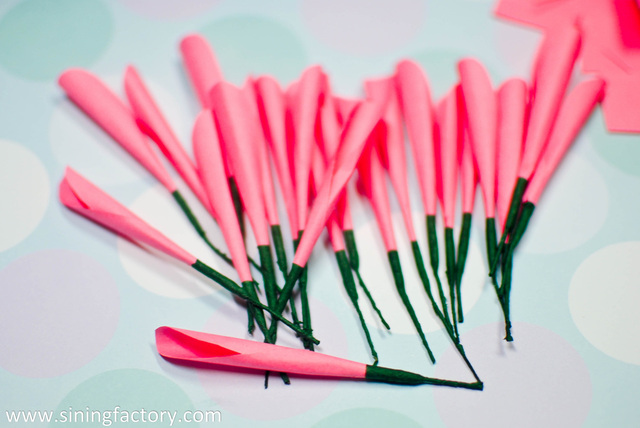
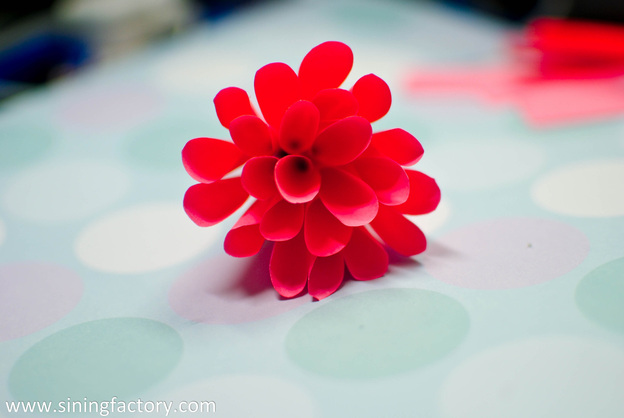
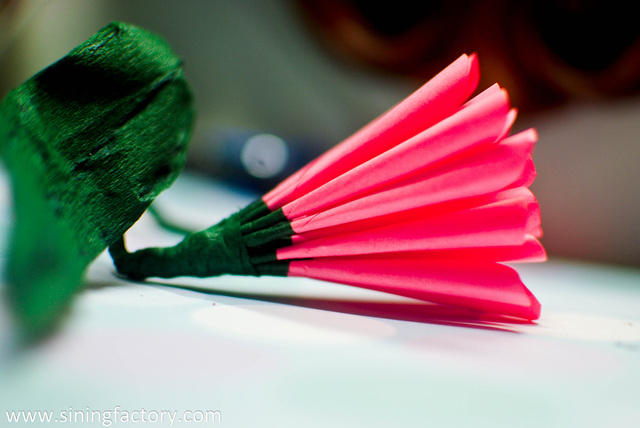
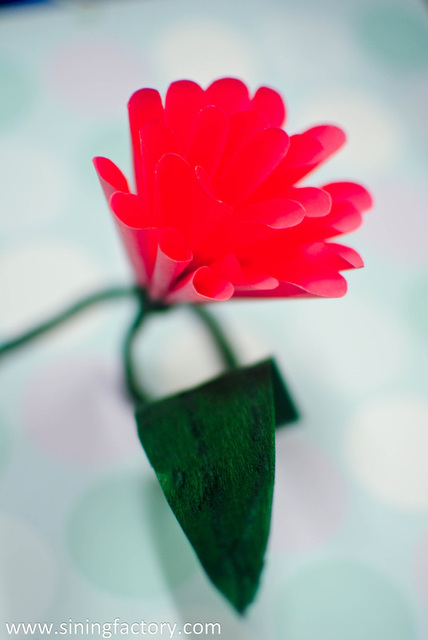
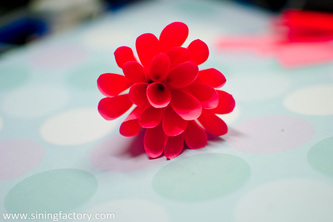
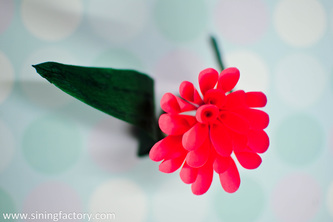
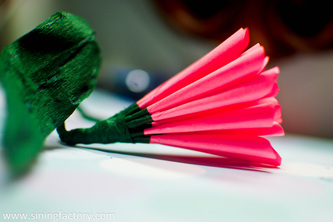
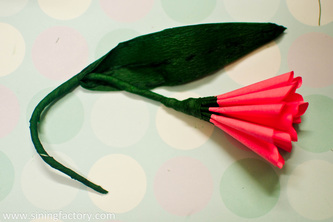
My Lily Paper Flower is just an experiment. I just had an idea of twirling the petals and arrange it together to make a beautiful flower. All materials I used are can be found easily. Using an old craft paper, I made a flower that is perfect for any occasion like weddings, debuts and even make it as a home decoration. Materials: Procedures: 1. First, you have to cut petals from your papers. Make rectangles measuring 1 inch by 2.5 inches. Cut the corner of one side into curve. You can also download and use the template I made to make the cutting easier. Download it here. 2. Cut a piece of craft wire with a length of 2 inches. Put some glue and stick the craft wire at one side of the petal. 3. Start rolling the petal from one side until the craft wire is attached to the petal. 4. Cover the junction of the petal and the stem with a craft tape. 5. Make as many as you can. The more the petals you make, the bigger the flower you can create. 6. Arrange the petals. Put them together starting from the center until you come up with the desired size of your flower. 7. Secure the petals by tying them with a craft wire. Put the flower in a stick or a piece of hard wire and cover it with a floral tape. You're done with your lily inspired paper flower. :) Tips: You can cut a piece of green paper to make a leaf. Make it more creative and eco-friendly by using old papers and dye it. Old magazines are great too because of its glossy effect. Create more lily paper flower to make a classy bouquet as a table centerpiece, a wall decoration or a home accent. Try different colors too. If you have good ideas for recycling and crafts and want to share it here, let me know by commenting below. You can also give me an ART CHALLENGE by telling me the materials to use and the artwork you want me to do. :)
17 Comments
3/21/2012 03:50:12 pm
Waaaah! SO exquisite and so lovely! It may be tedious to do on my end, but it sure is creative! Mukhang kaya ko yan gawin. =)
Reply
3/21/2012 07:38:08 pm
wow nice tutorial. i will try this soon. thanks for sharing.
Reply
Gagay Dinampo
3/22/2012 04:52:24 am
yay! very creative and artistic naman!!! ganda pa talaga...will try this at home..
Reply
3/23/2012 03:17:12 am
I miss this stuff - DIY. Thanks for coming back into circulation again. I will let my teachers teach this to their pupils in the H.E. class. Thanks.
Reply
3/24/2012 03:07:21 pm
perfect! ang linis nang pgkakagawa and super ganda love it.
Reply
5/29/2012 02:35:48 pm
It is good way to utilized waste material in our home for decoration
Reply
9/12/2013 01:41:53 pm
I am enjoying reading your article. It grabbed my interest and I could read it over over again. I really like this content. Thank you.
Reply
10/29/2013 01:51:48 pm
Thanks for taking this opportunity to talk about this, I feel fervently about this and I enjoy learning about this topic. Please, as you gain facts, please update this blog with more information. I have found it enormously useful.
Reply
11/1/2013 04:00:46 pm
I'm very joyous to read this. This is the kind of info that craves to be allotted and not the unintentional misinformation that is at the other blogs. appreciate your circulating this best doc. thank you ...
Reply
Leave a Reply. |
"It's easy to create beautiful projects out of the things you see around your house. Just be creative." -Noks Sosa
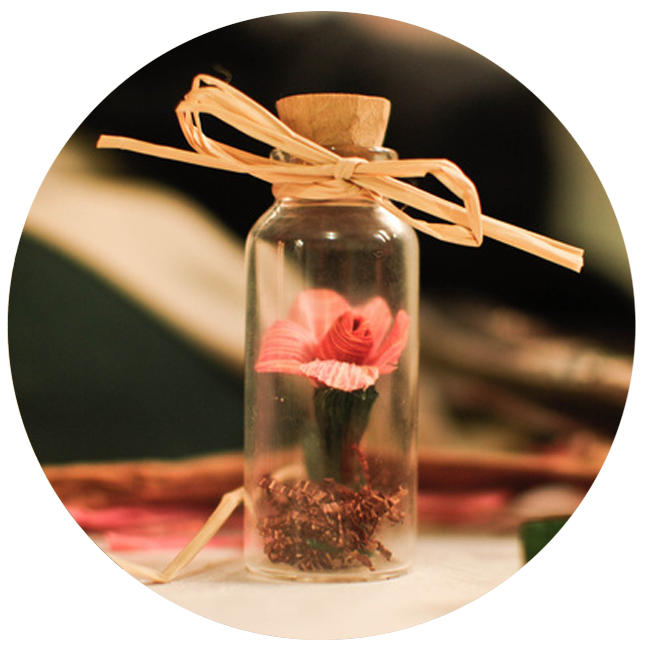
Read more about me... Flower in a bottle: how to make a personalized valentine's day gift
Achieve a decorative paper flower ball
From old CDs to a stylish upcycled necklace
Create innovative Christmas tree ornaments with your old magazines
ARCHIVES
October 2015
|
