Sining Factory
  • HOME
  • MY DIY PROJECTS
  • ARTS & CULTURE
  • PRESS & EVENTS
  • ADVERTISE

How To Make a Mug Pen and Pencil Holder

8/1/2012

24 Comments

 
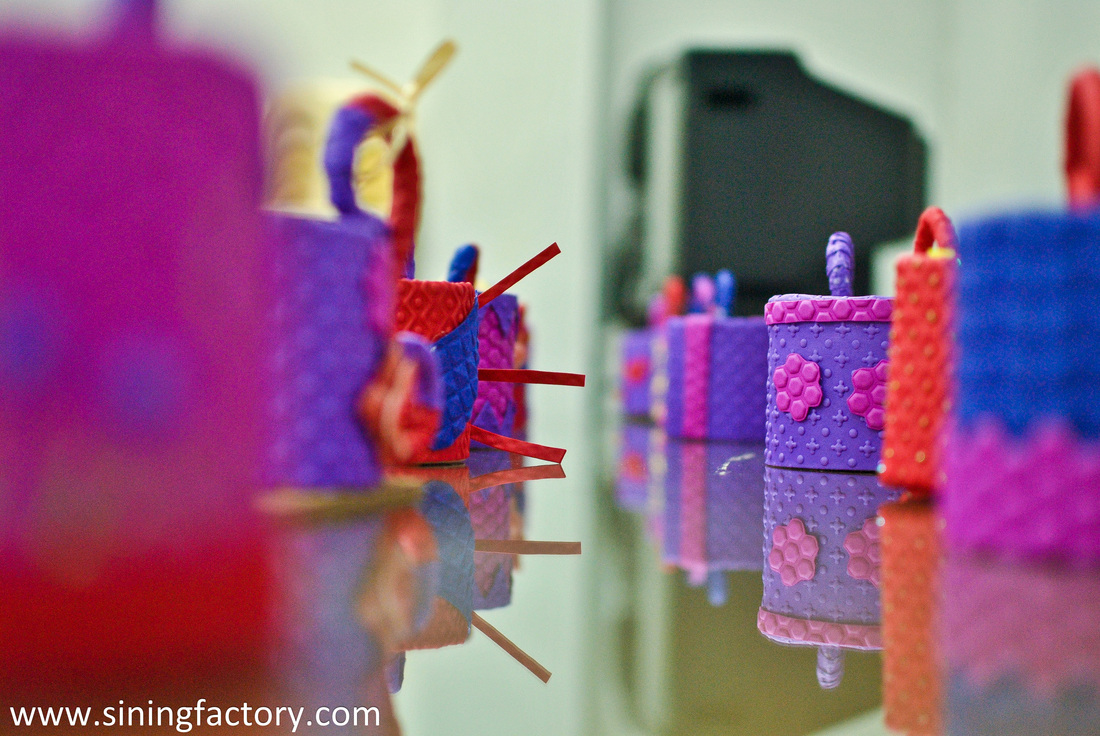
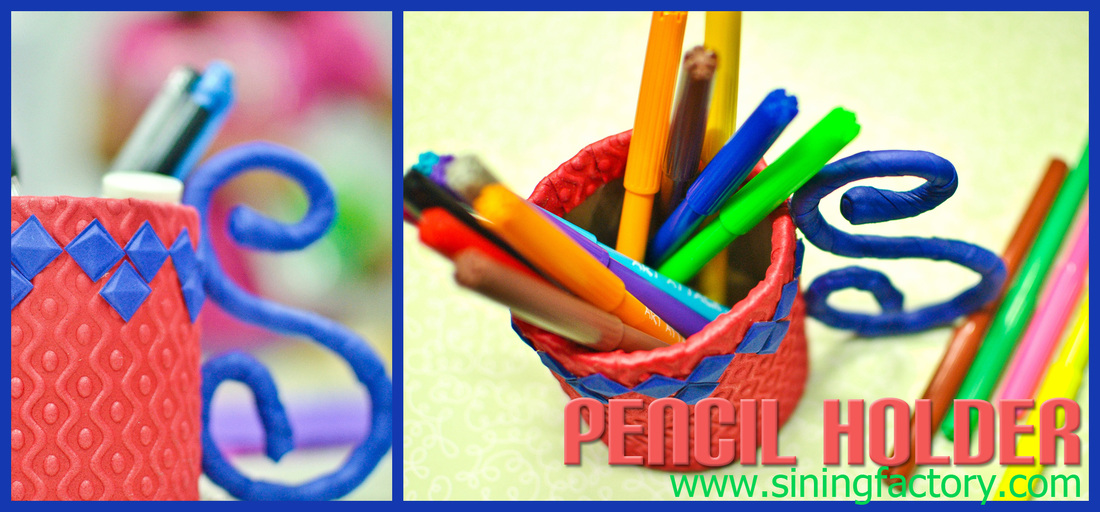
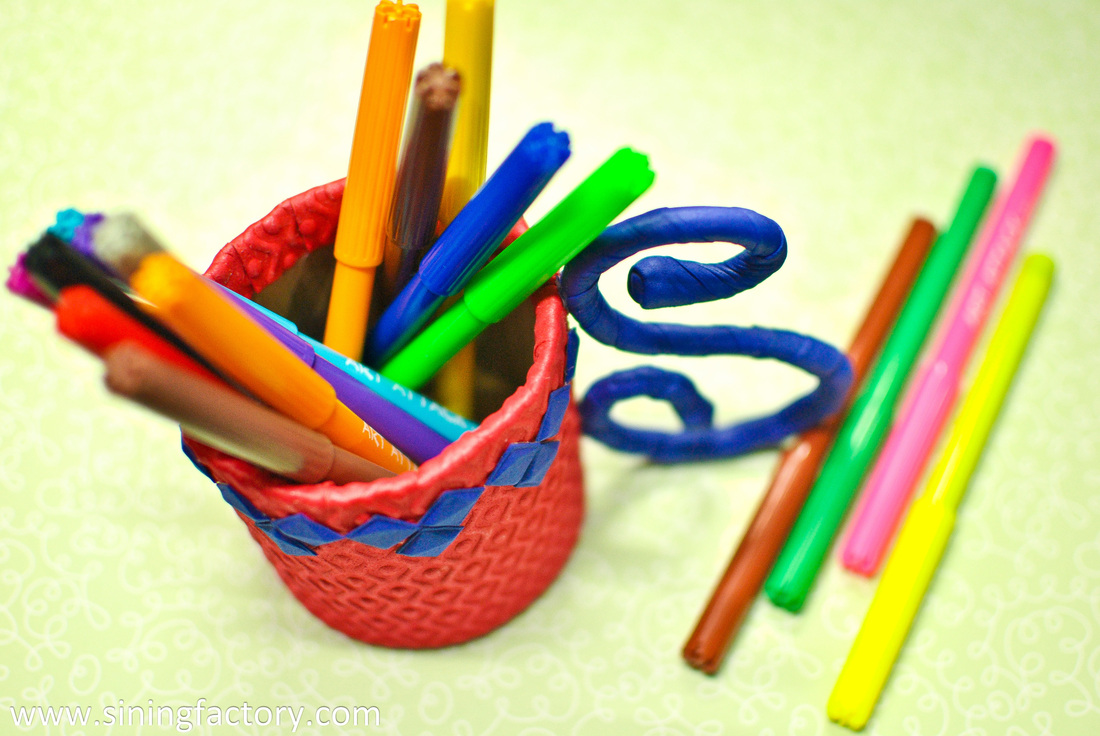
Personalize your desk by displaying a personalized pen and pencil holder. A homemade personalized pencil cup is great to hold your pens and pencils for school or work. This is also a great gift idea to your colleagues, classmates, your teacher or even to your relatives. Make your table more organized and a convenient work space with this mug pen and pencil holder.  
Picture
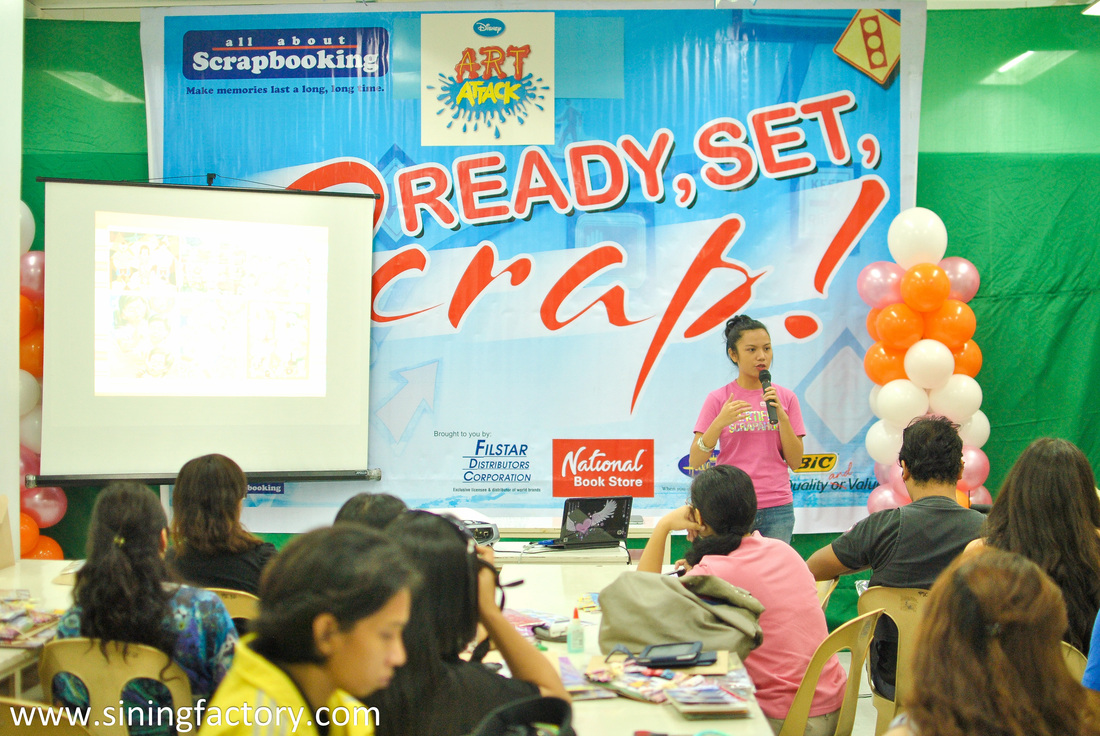
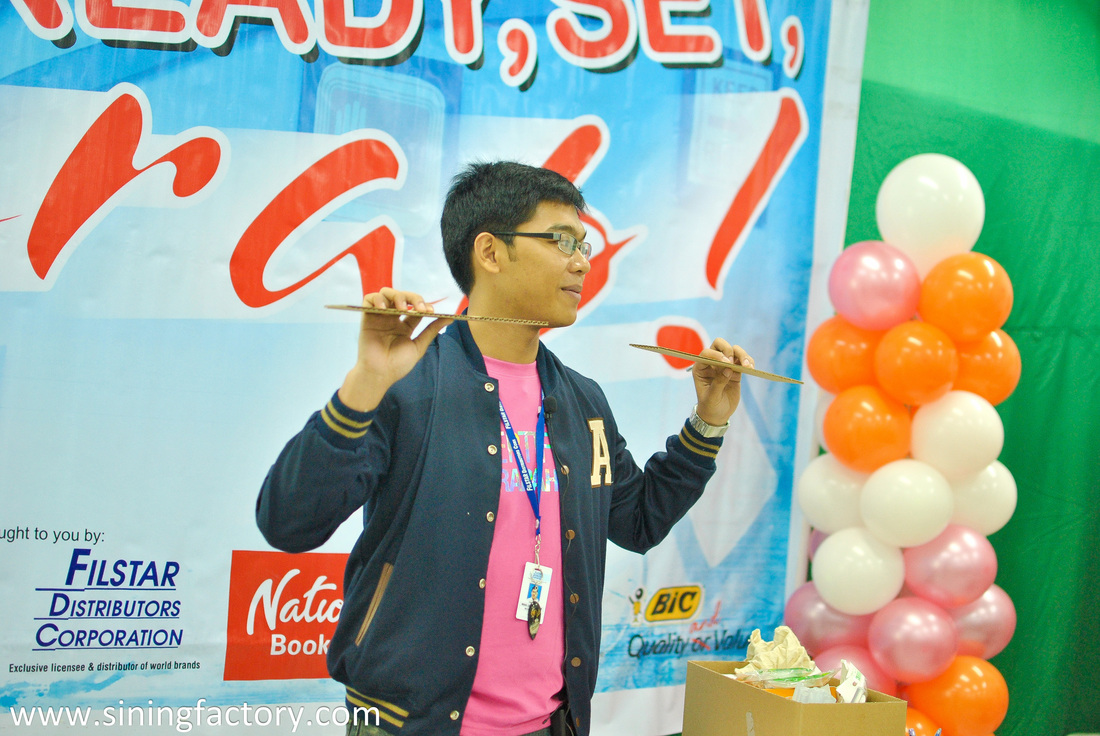
This tutorial is based from what I learned when I attended Scrap 'n Tell workshop hosted by Filstar Distributors Corporations. They are the licensed distributor of BIC, Hallmark, Celebrations Balloons and All About Scrapbooking. Art Attack products are now available too in the Philippines.
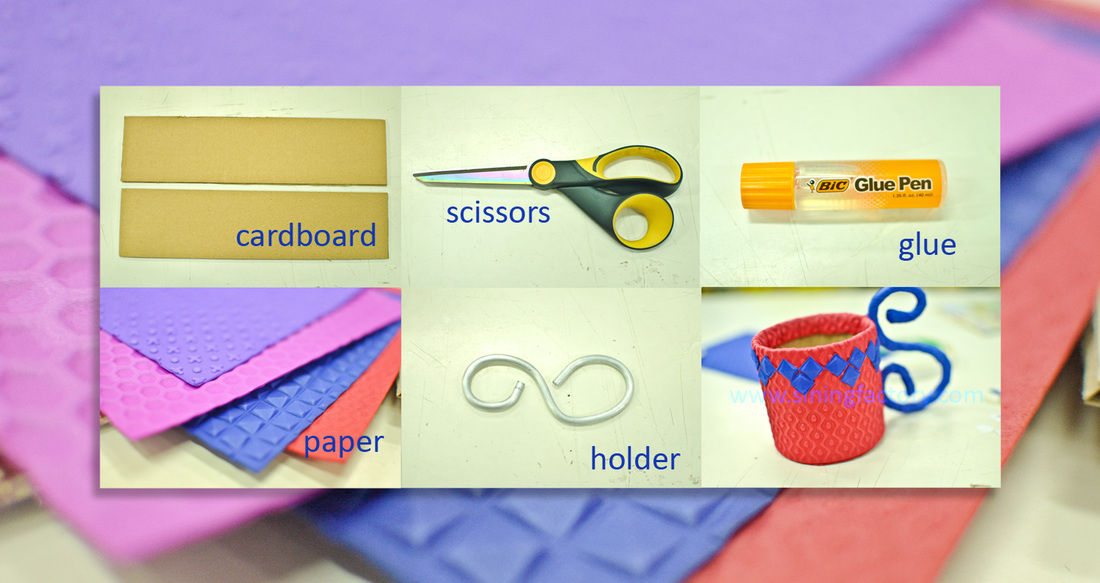
 
Materials:
  • Cardboard
  • Scissors
  • Glue
  • Paper/Foam sheet
  • Holder
Picture
Procedures:

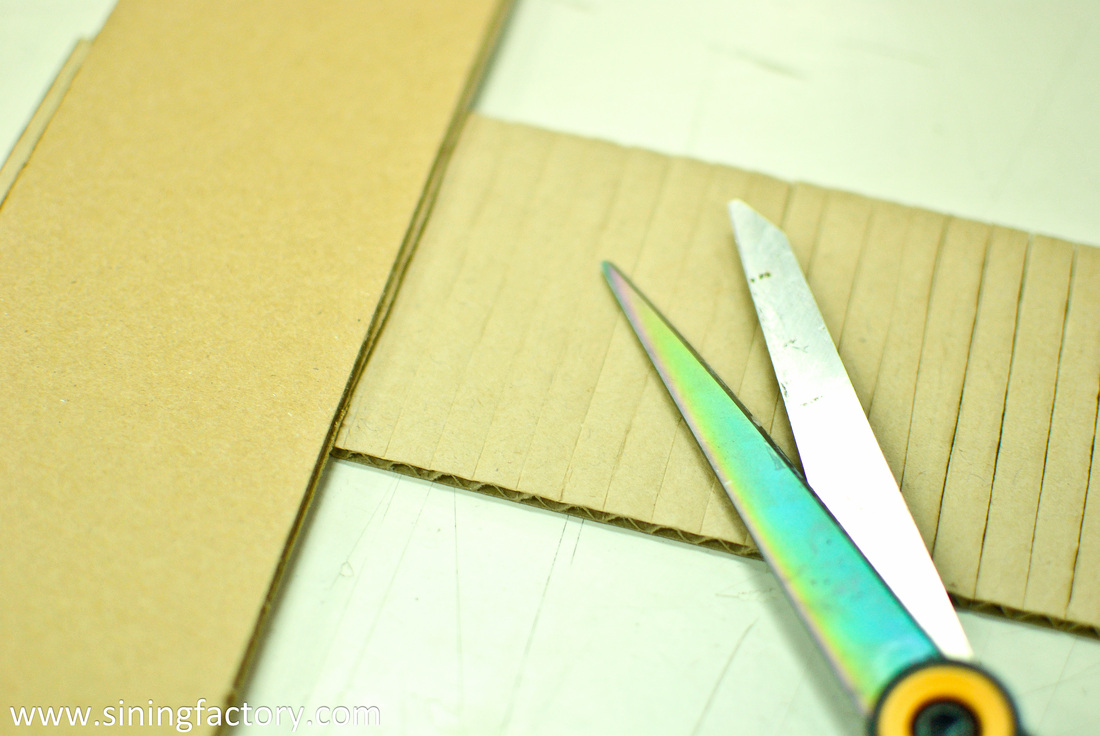
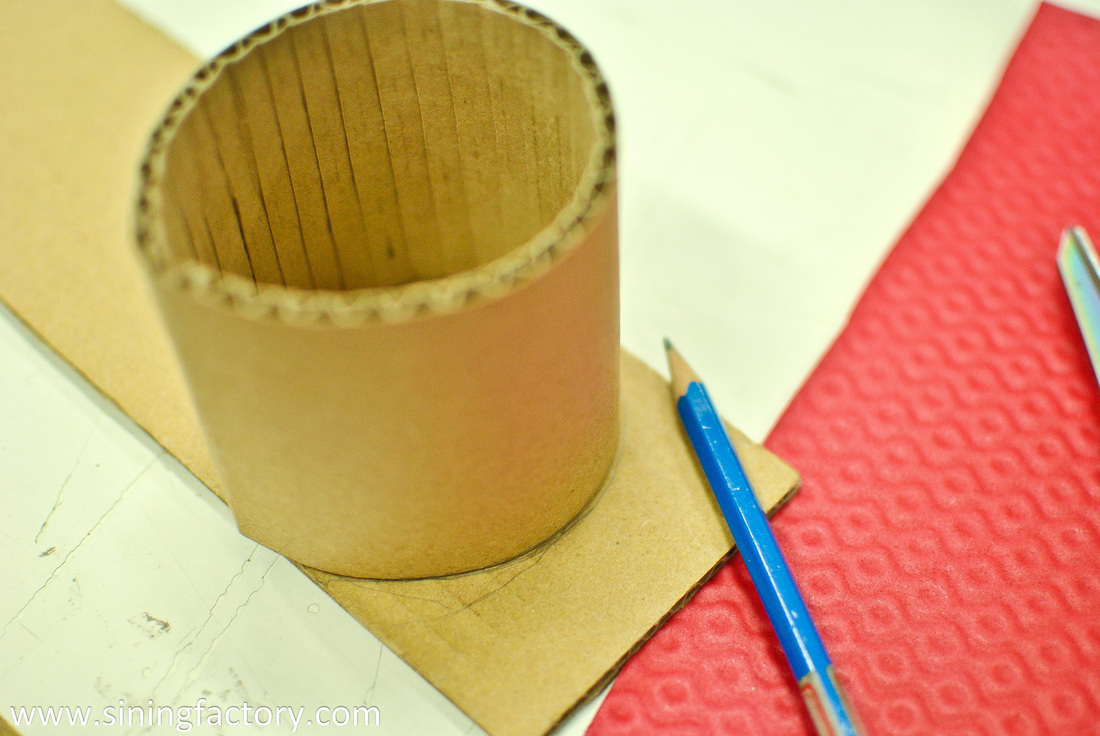
1. Get a carton/cardboard measuring 3 inches by 13.5 inches. Using your scissors, gently score each line of the cardboard. Make sure it wont cut the other side. The purpose of scoring is to make your cardboard bendable. 
Picture
2. On one end, measure 2 inches and scrape some layers from the scored portion leaving a thin intact layer of the carton. Put glue on this layer. Bic Glue Pen is perfect to use with papers, cards and many more.
Picture
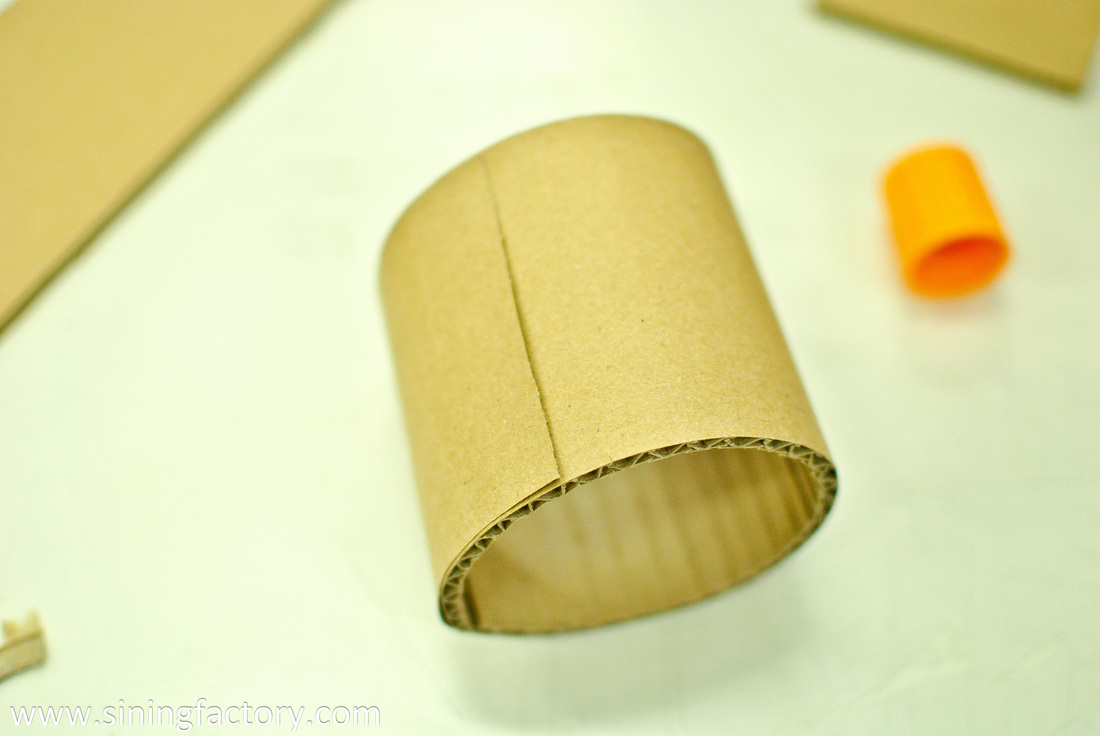
3. Bend the carton and glue one side to the other to make the a cylinder. Wait until it dries. This will serve as the body of the mug pencil holder.
Picture
4. To make the base of the pencil holder, trace the bottom of the cylinder on a piece of cardboard. Set it aside.
Picture
5. Cut a piece of paper or foam sheet that is an inch bigger from the carton. Put glue on the paper/foam sheet and wrap it over the cylinder. Foam sheet is a special type of paper from All About Scrapbooking which is elastic and rubberized making it more durable and a versatile material.
Picture
6. While waiting for the glue to dry, cut the traced circle and put glue at the edge. Slowly drag it inside of the cylinder and push until it is positioned on the base. Wait until it dries.
Picture
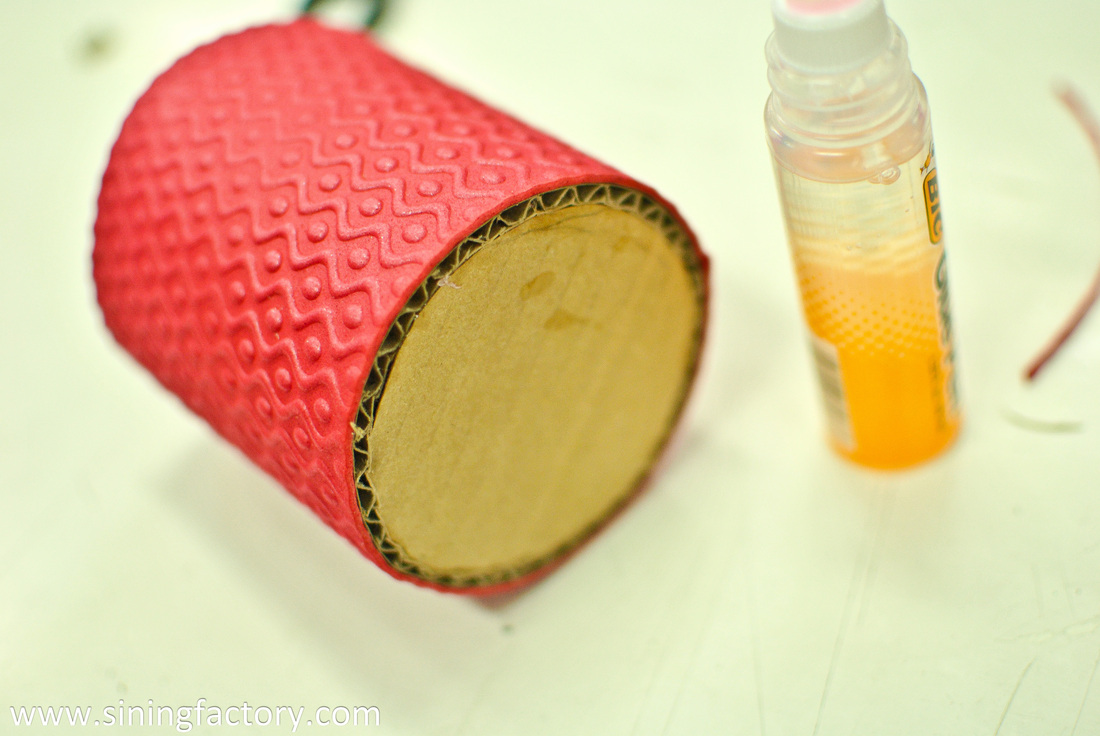
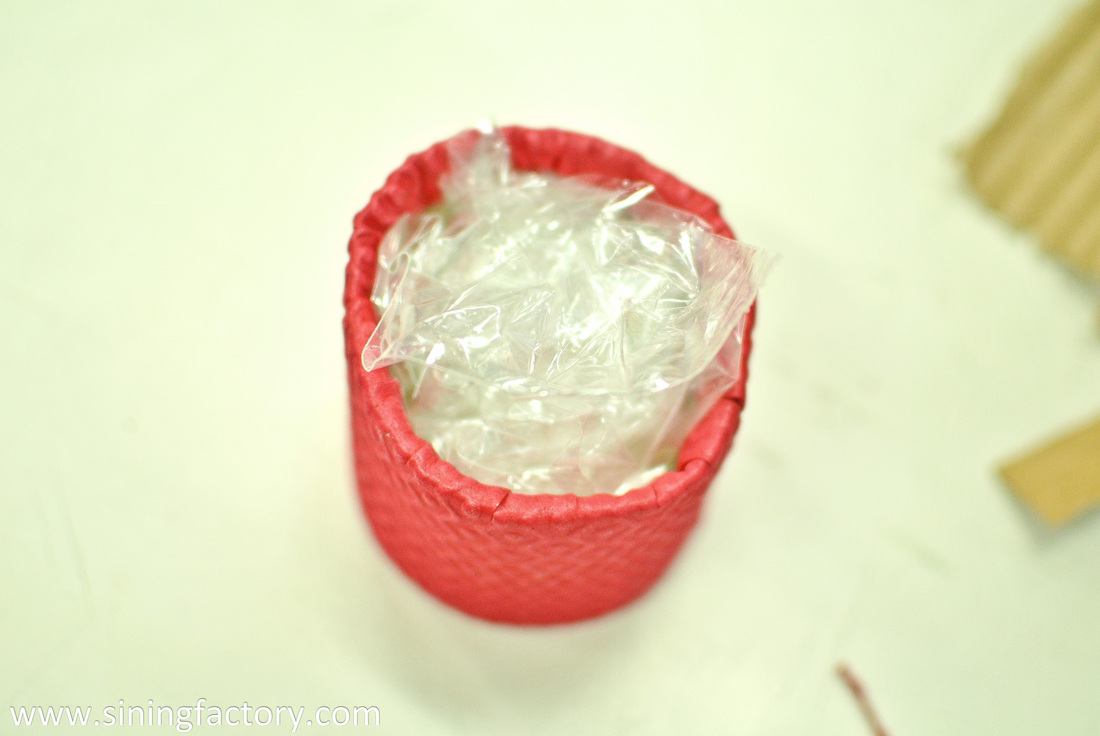
7. Put glue on the edge of the sheet and fold it inwards. After covering the body and putting the base of the pencil holder, wait until the glue dries and proceed to the holder.
Picture
8. Cut a strip of paper.
Picture
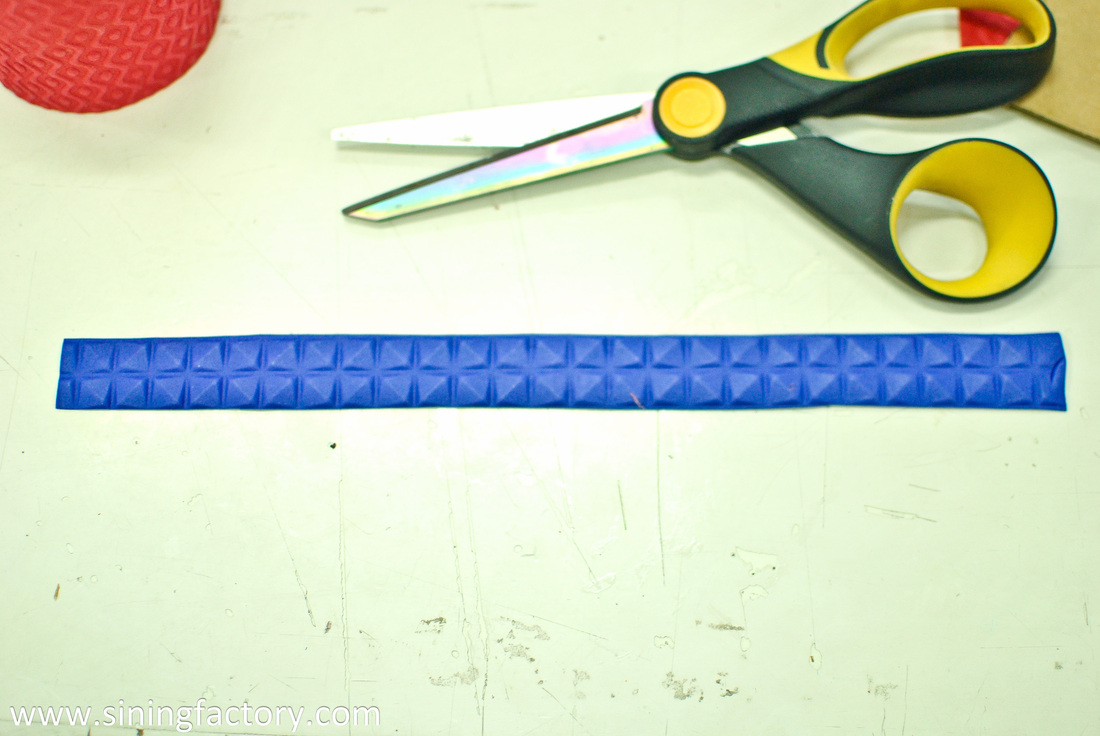
9. Cover the metal holder with the foam sheet by twisting it all over. The metal holder is available at the any All About Scrapbooking store. 
Picture
10. Attach the holder to the body using a glue gun. 
Picture
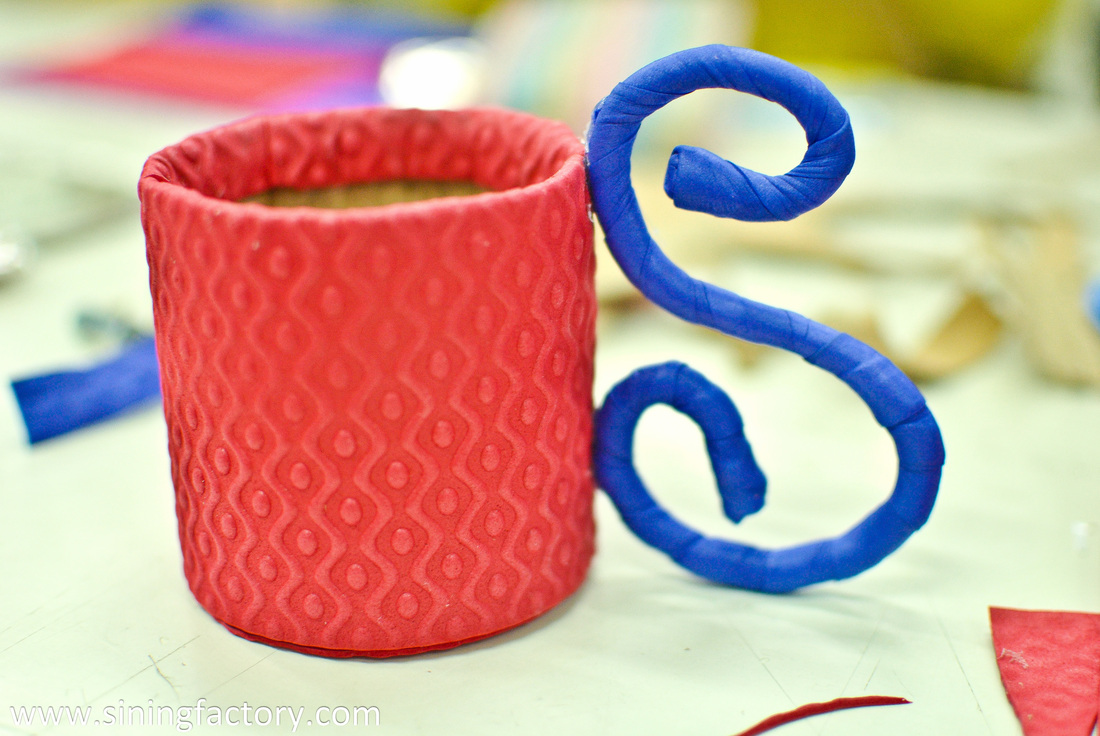
11. Your mug pencil holder is almost done. Decorate your pencil holder and make it more personalized. Be creative. 
Picture
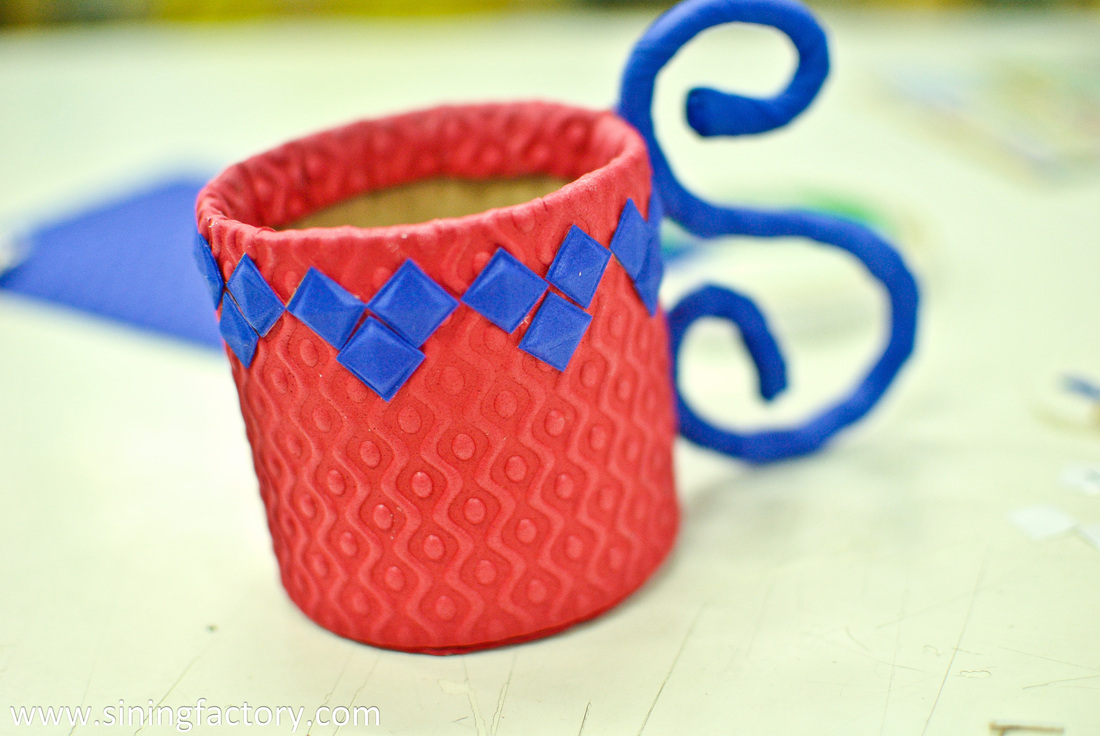
And now you're done with your mug pencil holder. Place your pens and pencils on it. The mug pencil holder is now ready to sit on your desk or give away as a personalized gift.
Picture
If you have good ideas for recycling and crafts and want to share it here, let me know by commenting below. You can also give me an ART CHALLENGE by telling me the materials to use and the artwork you want me to do. :)  

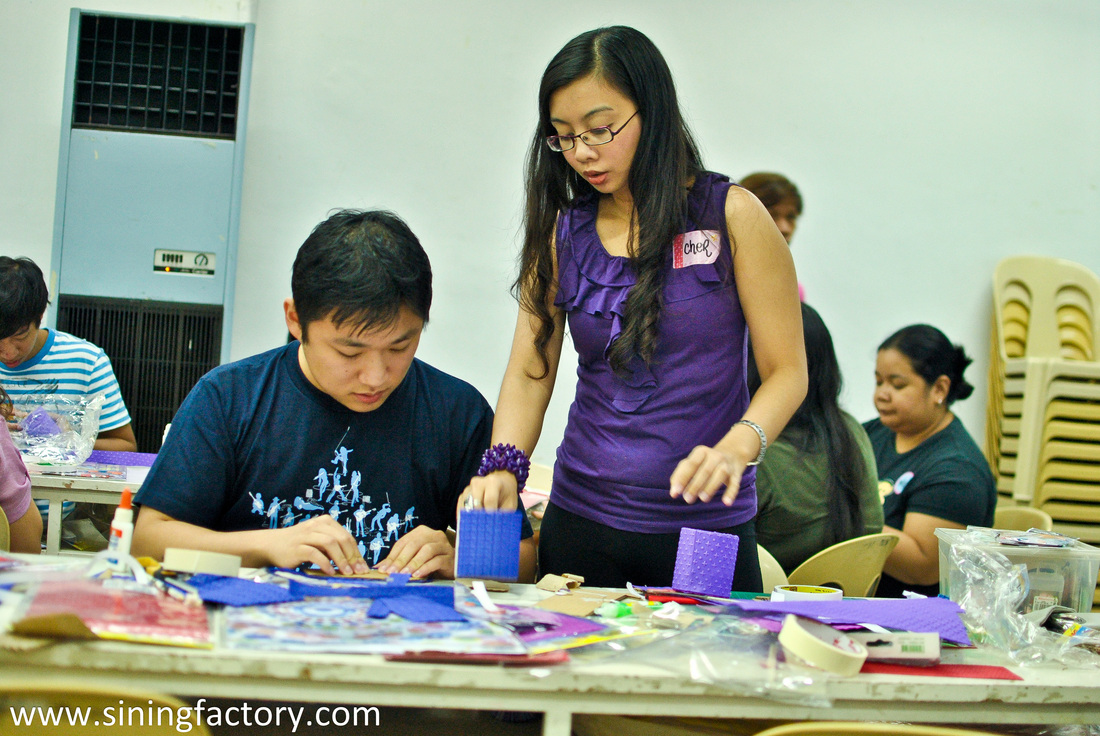
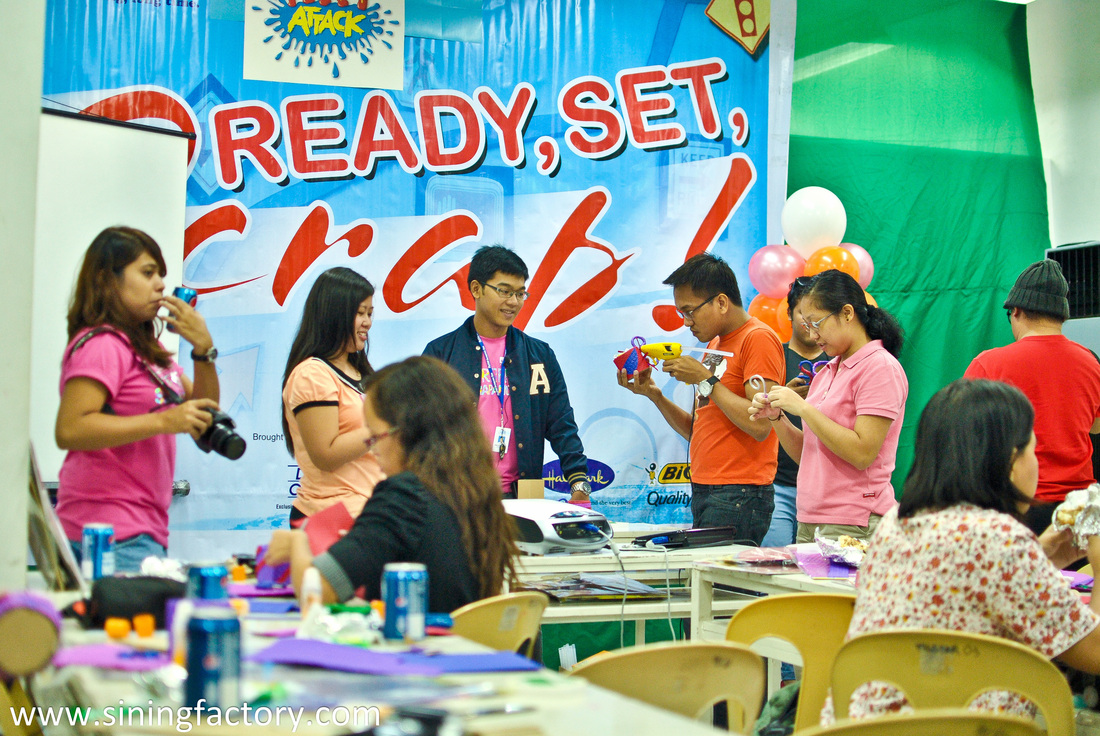
Scrap 'n Tell Bloggers' Event

Glad to see these creative bloggers. Everyone showed their creativity and skills in scrapbooking. It was completely a different experience.
Picture
Picture
Picture
Picture
Picture
24 Comments
hoshi link
8/1/2012 02:17:06 am

wah panalo step by step! partida nagawa mo ng mabilis at nanalo ka pa nyan.

mabuhay and congrats!

Reply
mavicdesigns link
8/5/2012 04:32:37 am

So creative and useful...Will make one for mine too lol...thanks for posting...

Reply
Jo-Ann Ramirez link
1/8/2013 11:20:21 pm

This is a great way of helping our environment. Recycled materials are cute when made as a new product.

Reply
Franc Ramon link
1/8/2013 11:23:59 pm

The D-I-Y instructions are very clear and easy to follow. The mug is nice and crafty.

Reply
jane link
1/9/2013 12:09:45 am

all the diy crafts here looks really good! this one looks amazing must try one day! xx

Reply
Mark Morfe link
1/9/2013 12:40:46 am

That's a nice way to make something out of things that aren't used anymore. Any kid can do it especially with the simple instructions given.

Reply
Rochkirstin link
1/9/2013 12:53:47 am

Haha. This just reminded me of Art Attack we always watch on TV. I'll refer this post to my sister who's fond of making artsy crafts. :-D

Reply
papaleng link
1/9/2013 12:56:04 am

Wow! very creative and a useful item to have in your table. The question now is, kaya ko kaya ito, knowing that I am not good at Arts.

Reply
Teresa Martinez link
1/9/2013 01:19:31 am

These are really very wonderful creations of art that are useful as well in our everyday life.

Reply
Rossel link
1/9/2013 01:36:39 am

I love arts and crafts. I used to do a lot of crafts before. Sadly, blogging is consuming much of my time now. This could be a great school project. Thanks for sharing.

Reply
Mai Flores link
1/9/2013 02:27:08 am

That was one artsy-fartsy mug! :) I love DIY stuff, other than the fact that you get to use organic materials.. paper is always the way to go! :) By the way, was the event by invitation only? :)

Reply
Arlene Cuares link
1/9/2013 03:02:18 am

Very creative. I have so many left-over card boards from Christmas boxes I think they're perfect for a mug pen and pencil holder :)

Reply
Gems|My Dailies link
1/9/2013 04:20:51 am

very creative! my kids are hands-on, creative just like their dad! I'll show this post to them! (mmm, they are 6 and 10! :)

Reply
Dems link
1/9/2013 05:25:01 am

Very creative and easy to do! This would make a cool gift for my working friends. I don't have to worry much about budget and design since I can customize it according to their likes :D

Reply
earlpablo link
1/9/2013 05:49:00 am

This is very creative and it does brighten ones desktop. The problem is that I am not that creative to collect those materials needed ( ha ha ha) and I think some help from my colleagues or family to do the search.

Reply
Ephramar link
1/9/2013 07:02:38 am

The materials are environmental friendly and is easy to do. Even my younger siblings could master this craft

Reply
Cherry Mae link
1/9/2013 07:05:43 am

These is one of a kind craft that doesn't require much of elaborative materials. You could utilize your recycled materials for this craft. Is there also an event for this?

Reply
jsncruz link
1/9/2013 08:12:55 am

That's a really nifty way to save on resources! Good job on being environment-friendly :) I also like the texture on the foam paper.

Reply
melandria romero link
1/9/2013 12:22:42 pm

really nice project, This would be a good idea and my kid would truly like this.

Reply
JAM link
1/9/2013 05:38:06 pm

the paper used is nice that's why it looks like it is bought from school supplies stores.. awesome.

Reply
Ron Leyba link
1/10/2013 01:34:21 am

First of all, congrats!

I love how you laid out your DIY mug pen and pencil holder. Great job Noks and Jong and to SiningFactory.Com as a whole. Pinoy blogger pride!

Reply
Special Education Philippines link
1/10/2013 07:44:50 am

Oh what a very nice event and its a bloggers events too. I hope they can have a similar event for teachers or mommies and their children. I like that you made a step-by-step instruction of how to make your paper mug. I will be sharing this to Special Education Philippines website. :)

Reply
Myrns Roman link
1/11/2013 08:36:07 am

nice ! creative and colorful! great job Noks ! Hope to join your activities next time :)

Reply
Elijah link
2/14/2014 10:20:44 am

Thank you, I have lately been looking for information about this topic.

Reply


Leave a Reply.

    Picture
    Picture
    "It's easy to create beautiful projects out of the things you see around your house. Just be creative." -Noks Sosa

    Read more about me...
    Picture
    Picture
    Picture
    Picture
    Picture
    Picture
    Picture
    Picture
    Arts & Craft - Top Blogs Philippines
    Picture

    Enter your email address:

    Picture
    Picture
    Flower in a bottle: how to make a personalized valentine's day gift 
    Picture
    Achieve a decorative paper flower ball
    Picture
    From old CDs to a stylish upcycled necklace
    Picture
    Create innovative Christmas tree ornaments with your old magazines
    Picture
    Turn an empty perfume bottle into an elegant DIY oil reed diffuser
    Picture

    ARCHIVES

    October 2015
    January 2015
    September 2014
    August 2014
    March 2014
    November 2013
    October 2013
    September 2013
    August 2013
    July 2013
    June 2013
    May 2013
    April 2013
    March 2013
    February 2013
    January 2013
    December 2012
    October 2012
    September 2012
    August 2012
    July 2012
    June 2012
    May 2012
    April 2012
    March 2012
    February 2012
    January 2012
    December 2011
    November 2011
    October 2011
    September 2011
    August 2011

            
SiningFactory.com started as a blogsite in September 2011 to promote Filipino artistry.

Awards

  • Best Culture and Arts Blog 2011 - National Level
  • Blogger Apprentice 2012 Winner
  • Nominee as Best Culture and Arts Blog 2011 - Luzon Level

Get Access to FREE Art Tutorials & Updates!

Sining Factory would love to share creative ideas with you. Sign up to receive awesome art tutorials and updates!  

Enter your email address:

       
Home · Contact · About · Copyright © 2011 Sining Factory All Rights Reserved.  
  • HOME
  • MY DIY PROJECTS
  • ARTS & CULTURE
  • PRESS & EVENTS
  • ADVERTISE