Sining Factory
  • HOME
  • MY DIY PROJECTS
  • ARTS & CULTURE
  • PRESS & EVENTS
  • ADVERTISE

How To Make A Recycled Thanks Giving Decor: Paper Ball Ornaments

10/12/2011

25 Comments

 
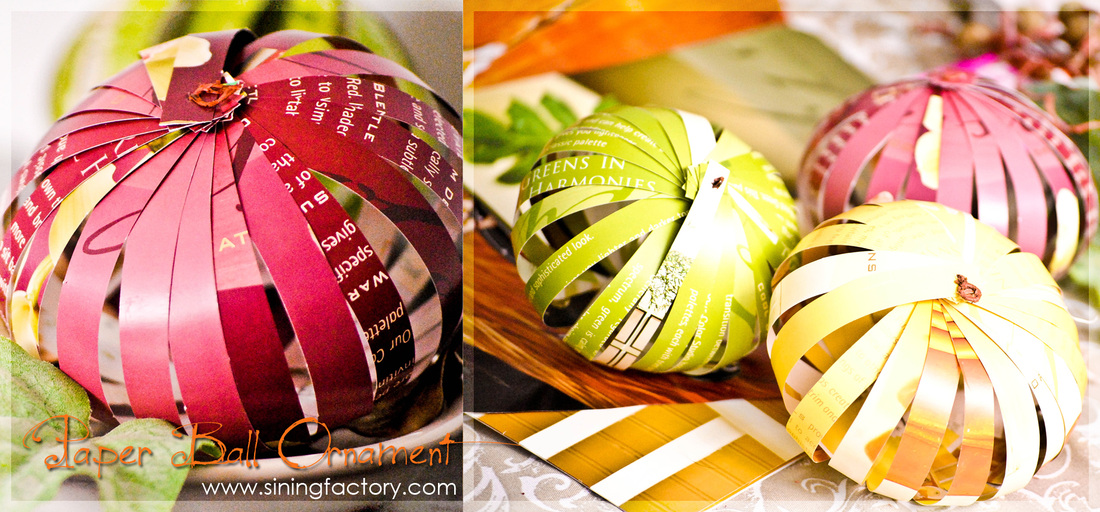
Want a simple and easy to do decoration for thanks giving with no cost? These paper ball ornaments are just perfect for you. This is totally all recycling. So, there is no need to spend money to have a splendid decorations in your house. Reminder: Kids can create all of these crafts with the help of an adult and some safety scissors.
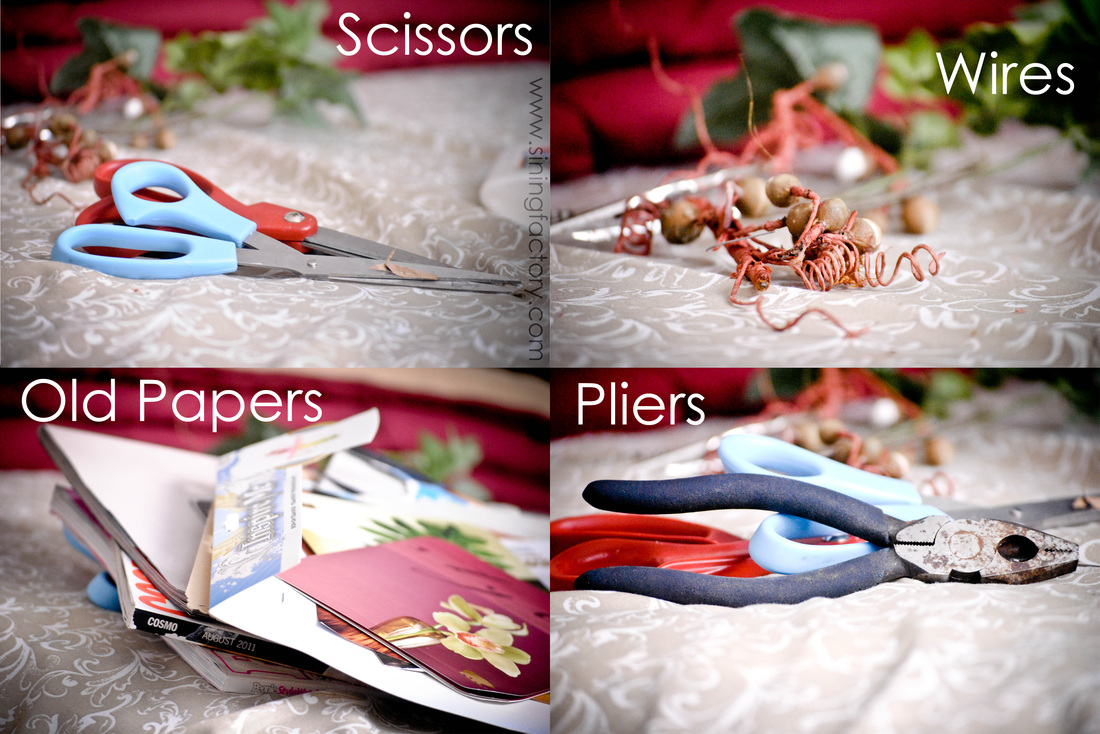
Picture
Materials:
  • Old papers/magazines
  • Wires (or you can use brads if you have)
  • Scissors
  • Pliers
Picture
Procedures:
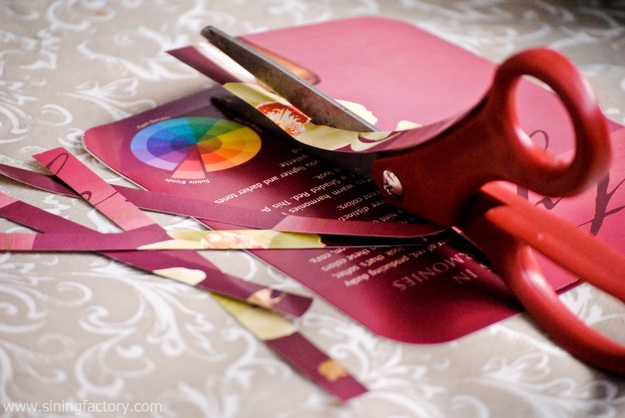
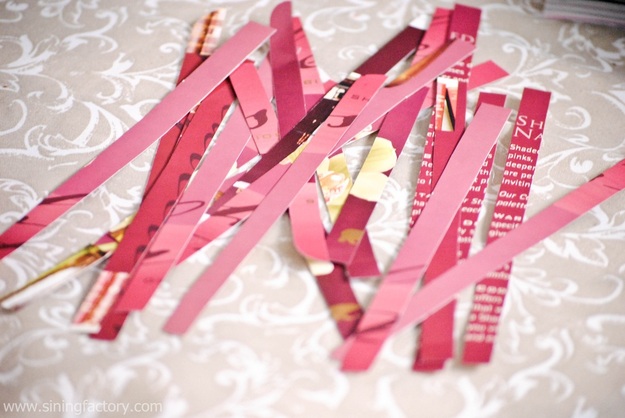
1. Measure  ½" x 6" on old magazines and cut your paper into 20 strips.
Picture
Picture
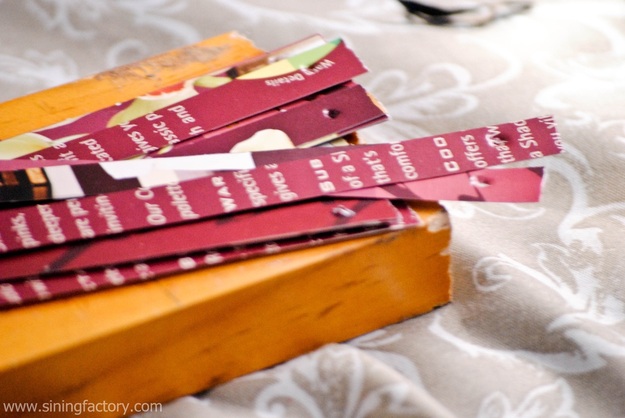
2. Punch holes 1/8" from edge on both ends of paper strips. Nails or pins can be used to make holes. (You can also use punch hole to make it easier)
Picture
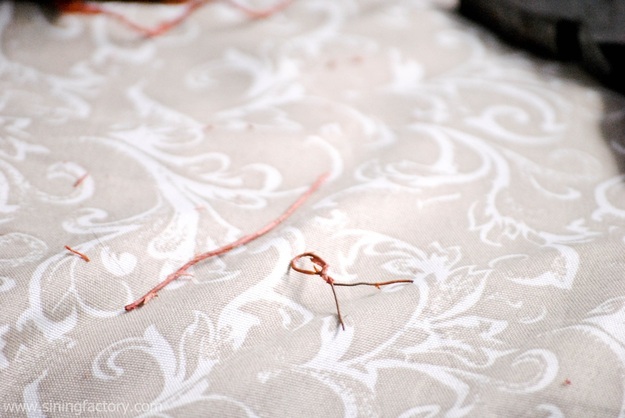
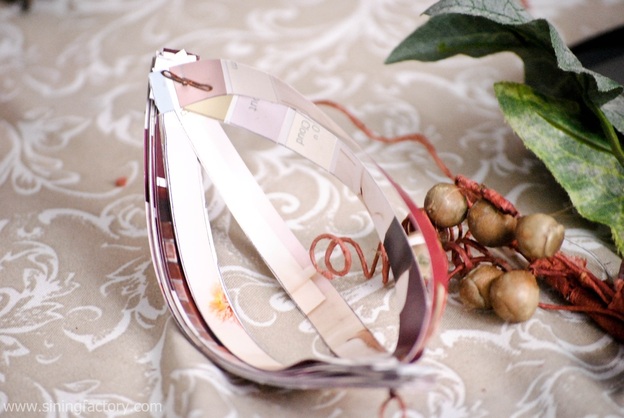
3. If you don't have brads, take 2 pieces of wires with 2" length. Fold it into half and twist each wire at the middle with a hole at the center as shown at the picture.  (or you can use brads to skip this step) 
Picture
Picture
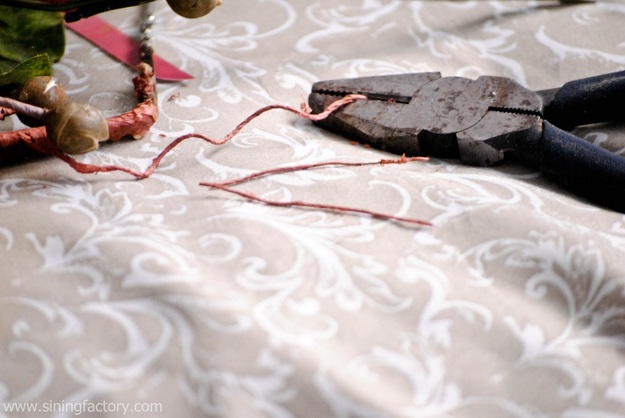
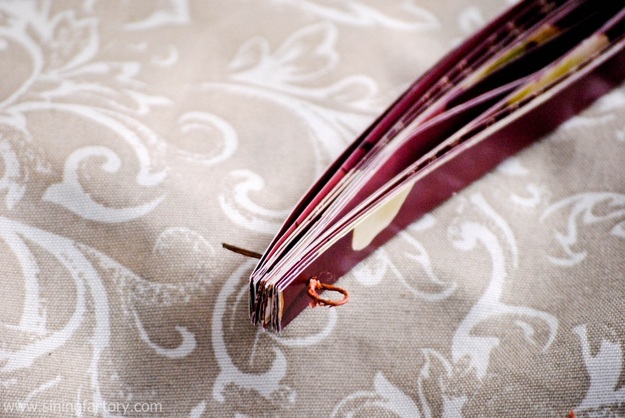
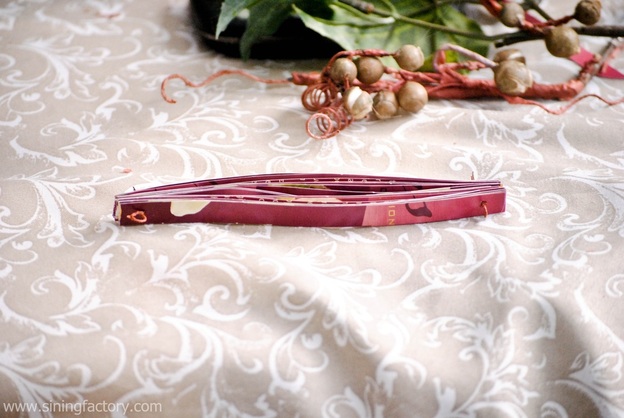
4. Put this  in each end of your punched paper strip stack. Spread the end of the wires to secure the paper strip stack.
Picture
Picture
Picture
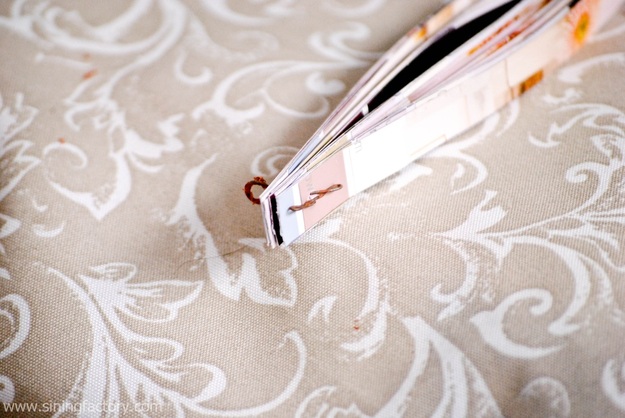
5. Starting with the strip on the bottom, twist it out to begin to unfold the paper ball.
Picture
6. Twist out each strip individually in order from bottom to top of paper strip stack.
Picture
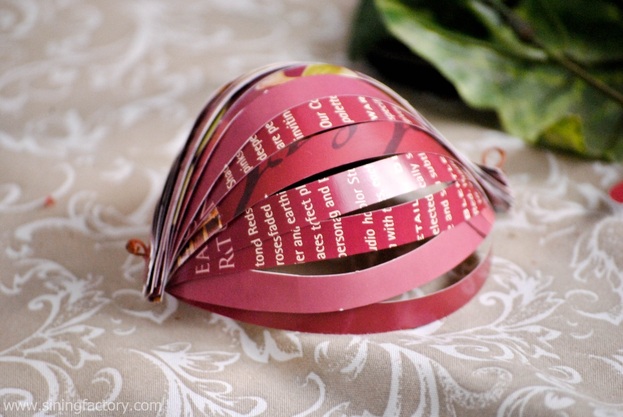
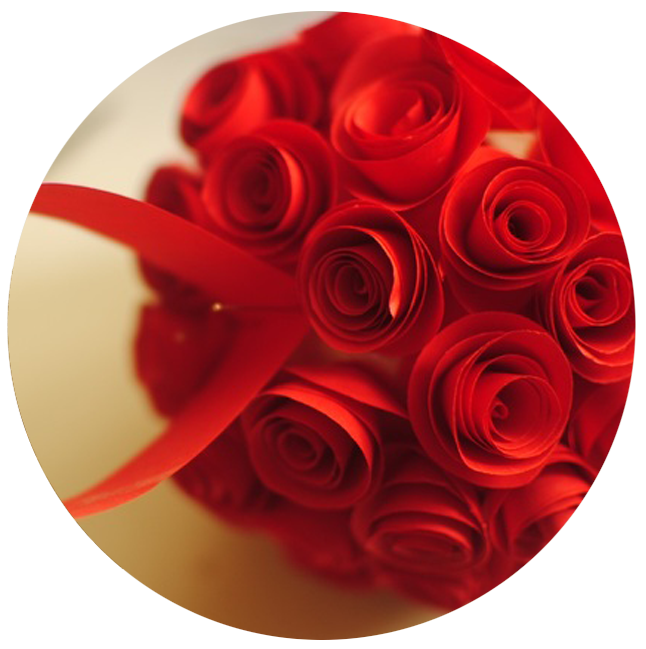
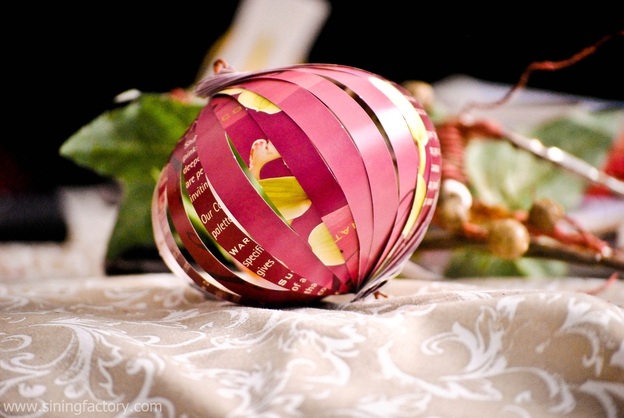
7. Arrange the strip until you form a ball! Now, you have your paper ball ornament.
Picture
Picture
Tips:
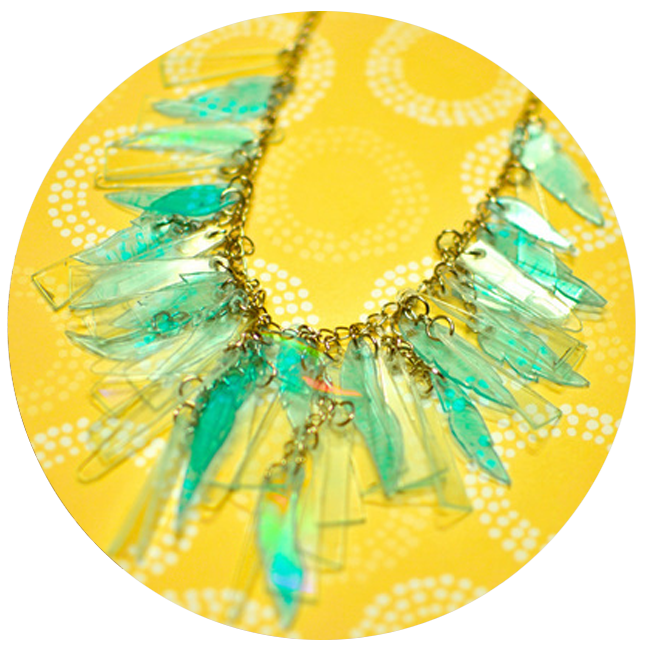
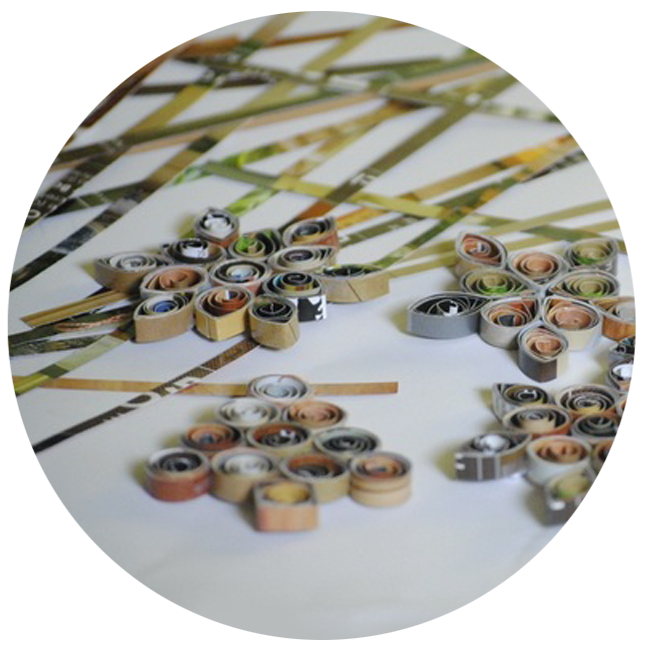
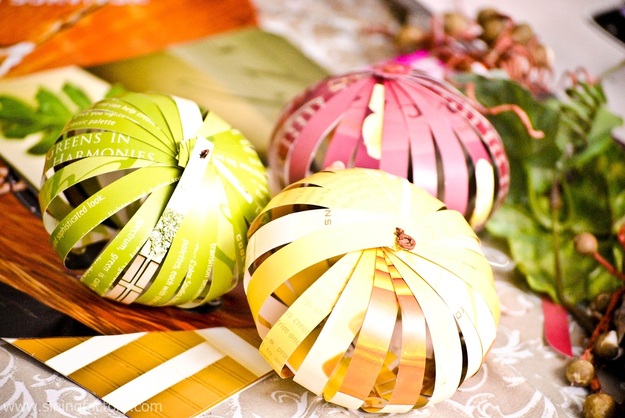
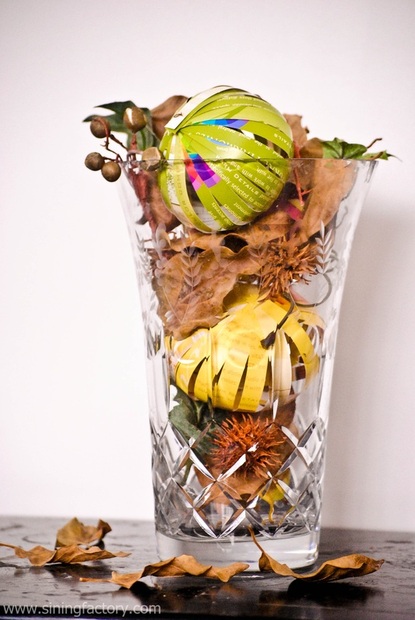
You can make more paper balls with different color to make a center piece or other decorations. You can stack all the balls in a string to make a garland. You can arrange them also on your liking to make a good decor. Take a look of  what I did as a decor for Thanks Giving.

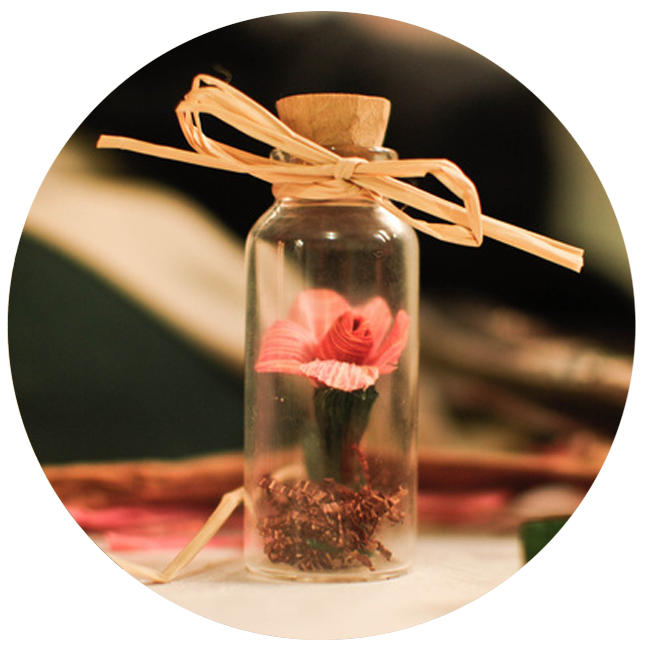
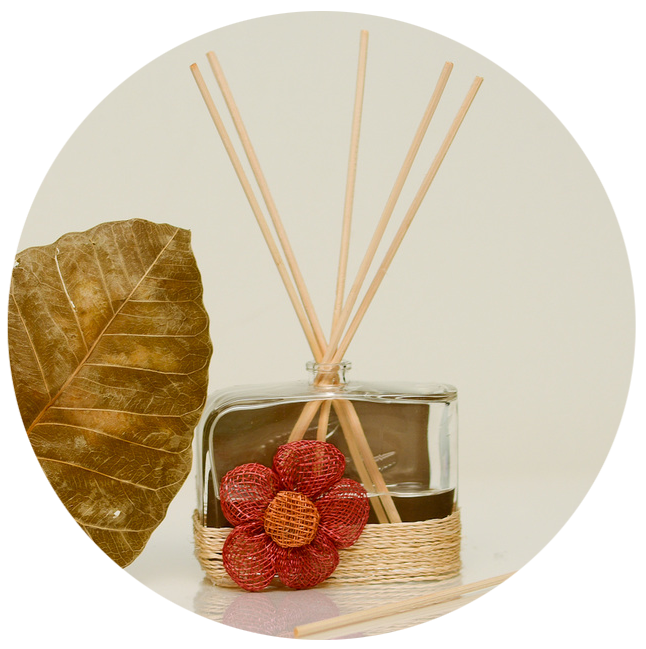
I added some dried leaves and pine cones from the backyard, plastic leaves and put them together on a glass vase. This is good as a decoration in your house. 
Picture
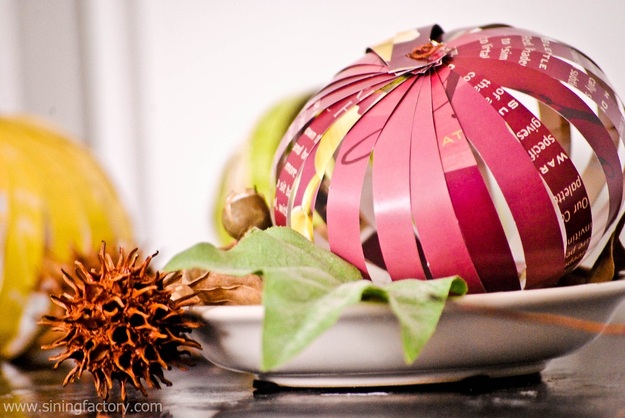
You can also arrange them in a plate and put your paper ball ornament with some leaves. This is good as center pieces of tables for party.
Picture
Hope you had fun! Happy Thanks Giving!
25 Comments
Clint link
2/7/2012 07:33:22 pm

Very recycled yet will surely be appreciated. Thanks for this!

Reply
handmade lacquer bowl link
9/23/2013 06:14:57 am

Yes, i appreciate too.

Reply
Rhed link
2/7/2012 07:48:51 pm

Very creative, colorful and really nice. Thanks for the tips!

Reply
Enzo link
2/7/2012 09:14:26 pm

Wow...those colorful paper in the tall glass look like ice cream. This is a very creative art piece.

Reply
Earlie link
2/7/2012 09:18:04 pm

here you are again with your genius and creativity.. I simply like the way you create wonder in simple material. And honestly they look great.

Reply
vonn link
2/7/2012 09:23:53 pm

great... nice one.., easy but beautiful

Reply
Gladys | ByahengBarok link
2/7/2012 10:48:22 pm

wow, ang sipag! wished i was able to do this last xmas :)

Reply
Mary Jane link
2/8/2012 02:17:51 am

very nice dear! will try and make some of these for my mother and daughter bonding! xx

Reply
Leah link
2/8/2012 03:03:34 am

Oh I remember. We used to do this back in high school.. Pandagdag decoration sa room kapag Christmas. Pero ngayon, wala na.. Medyo tamad nang gumawa. LOL..They do look Christmas-y kapag nilalagyan na ng glitters. hehe..

Reply
Violy M. Vallester link
2/8/2012 04:36:53 am

wow so creative!! we can use different colored paper too can imagine na how it would look in my house! i'm presently decorating my house naku sana sipagin ako!! thanks for this post!! ;)

Reply
ROMELO link
2/8/2012 07:32:20 am

Yay! Arts and Crafts. They look like Onion Balls. Actually, that could be a fun project for school kids.

Reply
Gil Camporazo link
2/8/2012 09:24:19 am

You've made something out of waste materials. And this is recycling of used things for more usability like decors. I like your idea. I will introduce this to our pupils in the school.

Reply
MC link
2/8/2012 10:01:00 am

Waaaa. This looks so good and very artistic.. Plus, you can save some bucks too! ♥

Reply
Julie link
2/8/2012 10:57:59 am

Wow. I'm sure lots of children will enjoy doing this fun and easy craft activity :)

Reply
Mama Mia link
2/8/2012 11:08:18 am

Beautiful :)

Reply
dong salvar link
2/8/2012 01:09:55 pm

AWESOME! Very creative! I try to do it for our store display.

Reply
Metroxylon Jomuad link
2/8/2012 02:14:26 pm

This is really creative and very informative.

Reply
ralph link
2/8/2012 03:48:23 pm

this doesn't only lessen our trash but it's actually making something more appealing to the eyes... great talent. Yahweh bless.

Reply
tatess link
2/8/2012 05:51:21 pm

This is so easy.Thanks for the tutorial ,Now .I won't wonder how this thing done .ang ganda nung natapos na.

Reply
Karen link
2/9/2012 12:32:38 am

indeed an interesting artwork from recycled paper

Reply
julie ann link
2/9/2012 01:57:16 pm

Ang galing. I really love all these arts you feature here. It's colorful and somehow gives a feeling of delight and happiness.

Reply
blair villanueva link
2/9/2012 02:16:04 pm

wow! great projects and yeah that craft looks like a pumpkin!

Reply
RJ's Mama link
2/15/2012 02:55:47 pm

very creative! <a href="http://www.mybabyrj.com/2012/01/very-good-quality-of-education.html">preschoolers</a> will also like following your step-by-step guide :)

Reply
Wire Bind 3 link
4/27/2012 08:58:29 am

What a blog!!Awesome content to read and nice tips to follow out.Really great work by the person to use the paper glass in such a beautiful way.The flowers are looking as glorious as the original ones.Thanks.

Reply
Cameron link
2/24/2014 09:13:16 am

Hello,I love reading through your blog, I wanted to leave a little comment to support you and wish you a good continuation. Wishing you the best of luck for all your blogging efforts.

Reply


Leave a Reply.

    Picture
    Picture
    "It's easy to create beautiful projects out of the things you see around your house. Just be creative." -Noks Sosa

    Read more about me...
    Picture
    Picture
    Picture
    Picture
    Picture
    Picture
    Picture
    Picture
    Arts & Craft - Top Blogs Philippines
    Picture

    Enter your email address:

    Picture
    Picture
    Flower in a bottle: how to make a personalized valentine's day gift 
    Picture
    Achieve a decorative paper flower ball
    Picture
    From old CDs to a stylish upcycled necklace
    Picture
    Create innovative Christmas tree ornaments with your old magazines
    Picture
    Turn an empty perfume bottle into an elegant DIY oil reed diffuser
    Picture

    ARCHIVES

    October 2015
    January 2015
    September 2014
    August 2014
    March 2014
    November 2013
    October 2013
    September 2013
    August 2013
    July 2013
    June 2013
    May 2013
    April 2013
    March 2013
    February 2013
    January 2013
    December 2012
    October 2012
    September 2012
    August 2012
    July 2012
    June 2012
    May 2012
    April 2012
    March 2012
    February 2012
    January 2012
    December 2011
    November 2011
    October 2011
    September 2011
    August 2011

            
SiningFactory.com started as a blogsite in September 2011 to promote Filipino artistry.

Awards

  • Best Culture and Arts Blog 2011 - National Level
  • Blogger Apprentice 2012 Winner
  • Nominee as Best Culture and Arts Blog 2011 - Luzon Level

Get Access to FREE Art Tutorials & Updates!

Sining Factory would love to share creative ideas with you. Sign up to receive awesome art tutorials and updates!  

Enter your email address:

       
Home · Contact · About · Copyright © 2011 Sining Factory All Rights Reserved.  
  • HOME
  • MY DIY PROJECTS
  • ARTS & CULTURE
  • PRESS & EVENTS
  • ADVERTISE